Beginner’s Guide to Editing Photos in Lightroom
You’ve come to the right place if you want to know how to edit images in and Lightroom.
Here I will discuss all the editing options available in Lightroom. You’ll learn how to use the tools and in what order.
This is a guide that will walk you through the steps of Adobe Lightroom Classic. You can read the guide if you want to learn more about Lightroom CC or the Lightroom Mobile App.
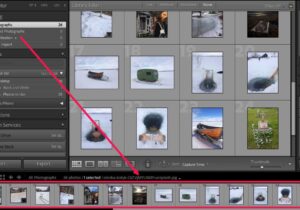
This tutorial will show you how to edit images in Lightroom’s Develop module. I will not cover how to organize or import your photos. You can learn more about this part of the process by checking out this Introduction to Adobe Lightroom.
Now that you have all the information, let’s start!
Learn How to Use Lightroom’s Develop Module
This module allows you to edit photos that have been uploaded into your library. This module is divided up into three sections.
You can use the panels on the left to search through your collections and folders to find the image you wish to edit. You can also access the different stages of editing and make global edits.
You can switch the view to access different functions, such as before and after comparisons or soft proofing. Switching the view allows you to access various functions such as soft proofing or before and after comparisons.
Right side you will find all the editing tools and their properties.
Let’s learn how to edit images in Lightroom now that you have a better understanding of the program.


